


7 mistakes when installing standing seams that happen on every construction site
Standing seam work is among the most demanding tasks in the roofing and sheet metal trade. Precision, clean workmanship, and the right tools determine whether a roof lasts for decades or causes problems later on.
Despite experience, the same mistakes often occur on many construction sites during standing seam installation. Some only cost time. Others lead to leaks, tension, or complaints later on.
1. Not enough expansion allowed
Metal moves. Anyone who does not plan for enough freedom of movement risks warping, waviness, noise, or open seams.
2. Incorrect seam height
Seams that are too low or uneven lead to untidy results and problems during closing.
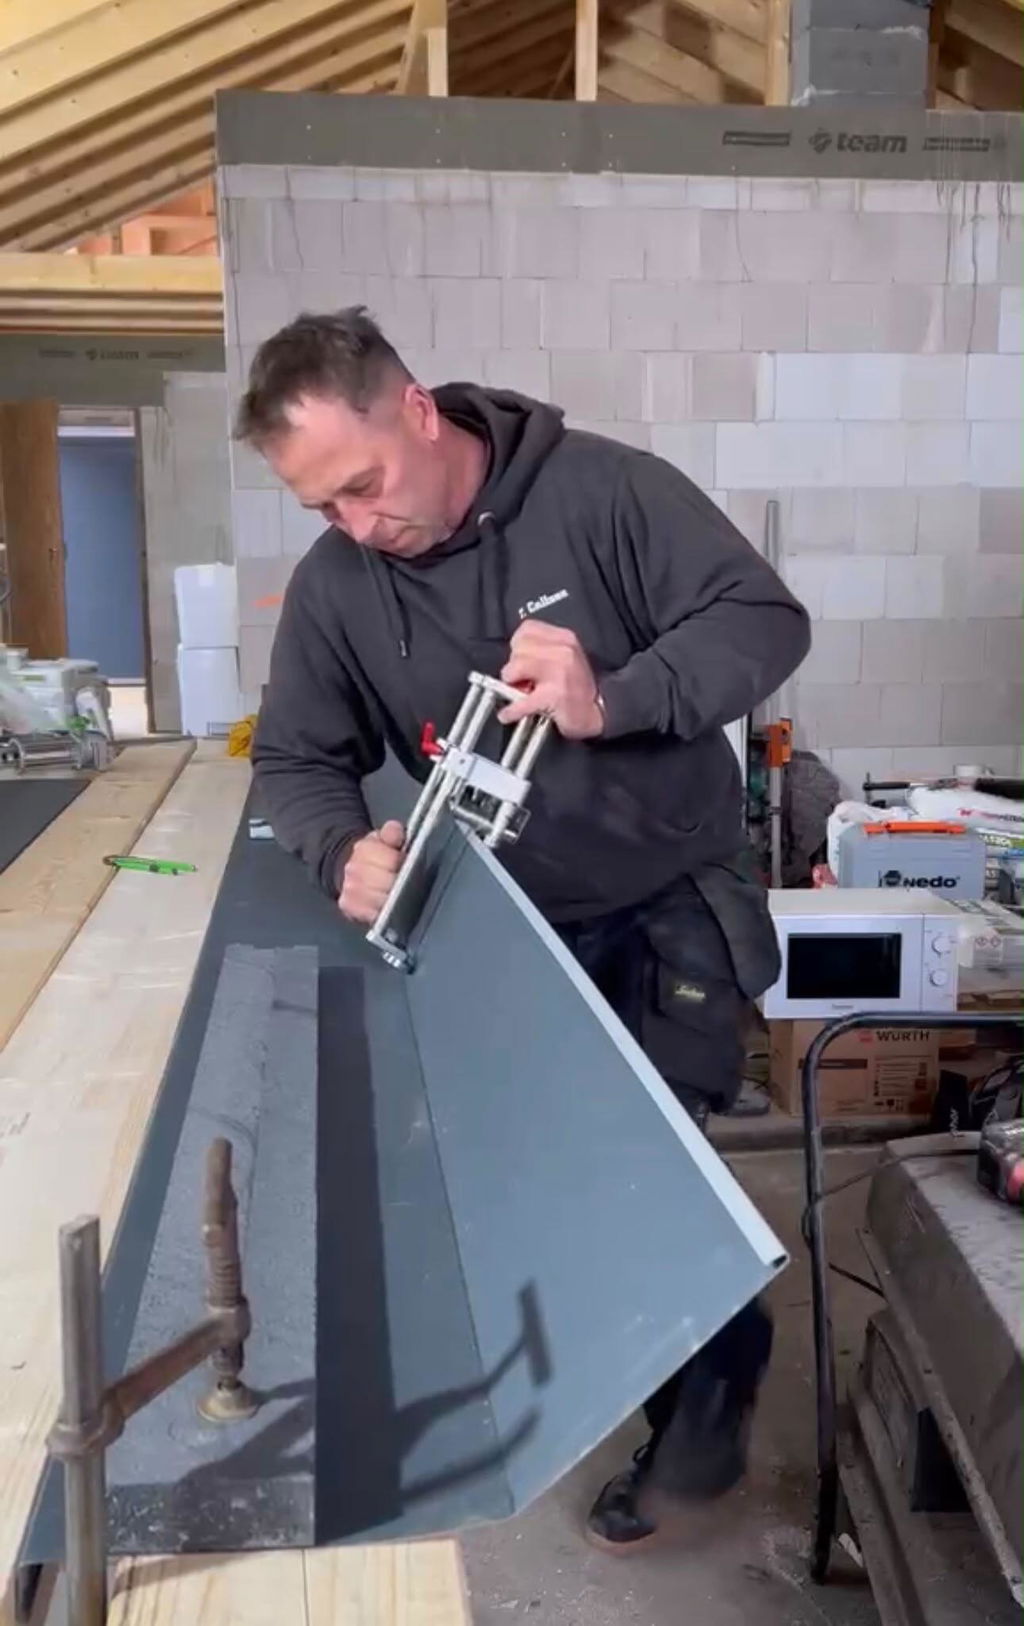
3. Cheap or unsuitable tools
Poor seaming pliers or imprecise tools cost time, damage material, and disrupt the workflow.
4. Incorrect clip installation
Improperly placed clips often lead to movement problems, tension, or noise later on.
5. Inaccurate substructure
If the substructure is not properly prepared, every unevenness will be visible later in the standing seam.
6. Too much pressure when closing
Closing seams too aggressively causes pressure marks, material stress, and visible damage.
7. Lack of detailed planning
Connections, valleys, verges, and penetrations are often underestimated. This is exactly where many problems arise later.
Clean work saves time and complaints
Standing seam work requires experience, clean tools, and precise execution. Anyone who cuts corners in the wrong places often pays double later through rework or complaints.