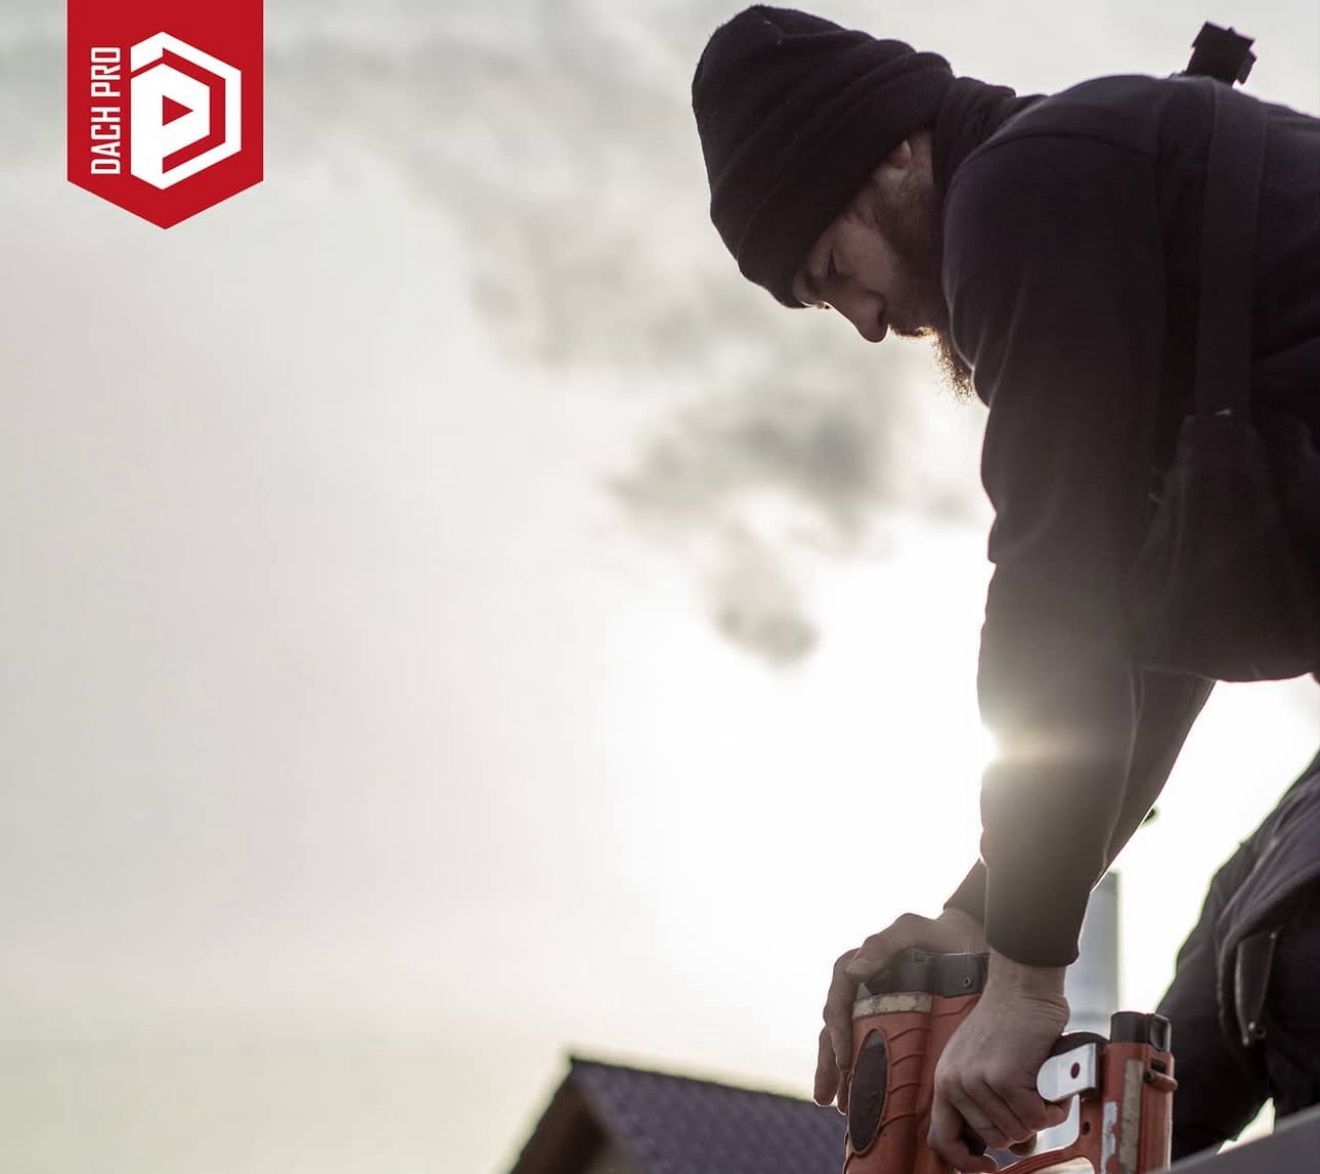
As an experienced master roofer, I know that the right wall coping not only improves the aesthetic appearance of a structure but also increases its longevity. In this blog post, I'll tell you everything about wall coping, from the different materials to the tools required.
Here is a video on how to install wall coping: Attic wall covering
It provides detailed instructions and shows the steps required for a successful installation.
Materials for wall coverings:
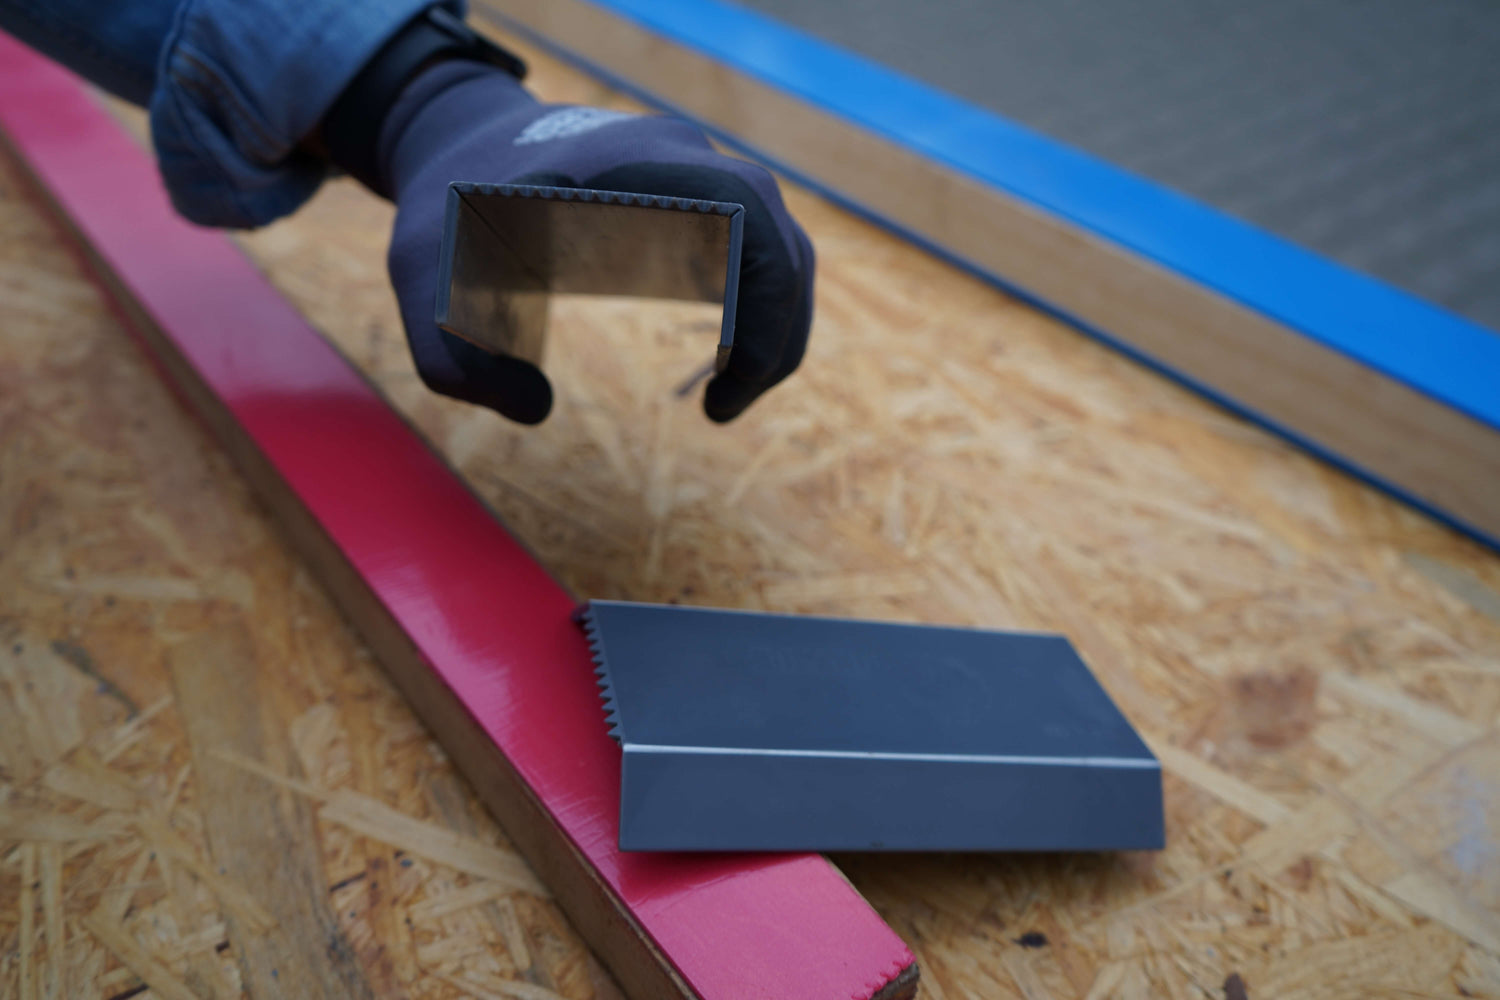
Wall coping is available in a variety of materials, including zinc, copper, aluminum, and stainless steel. Each material has its own advantages and disadvantages, so it's important to consider the client's needs and the structure's surroundings. For example, zinc is a cost-effective option that develops a natural patina and blends well with historic buildings. Copper, on the other hand, is durable, rust-resistant, and adds an elegant appeal to any building.
Tools for installation:
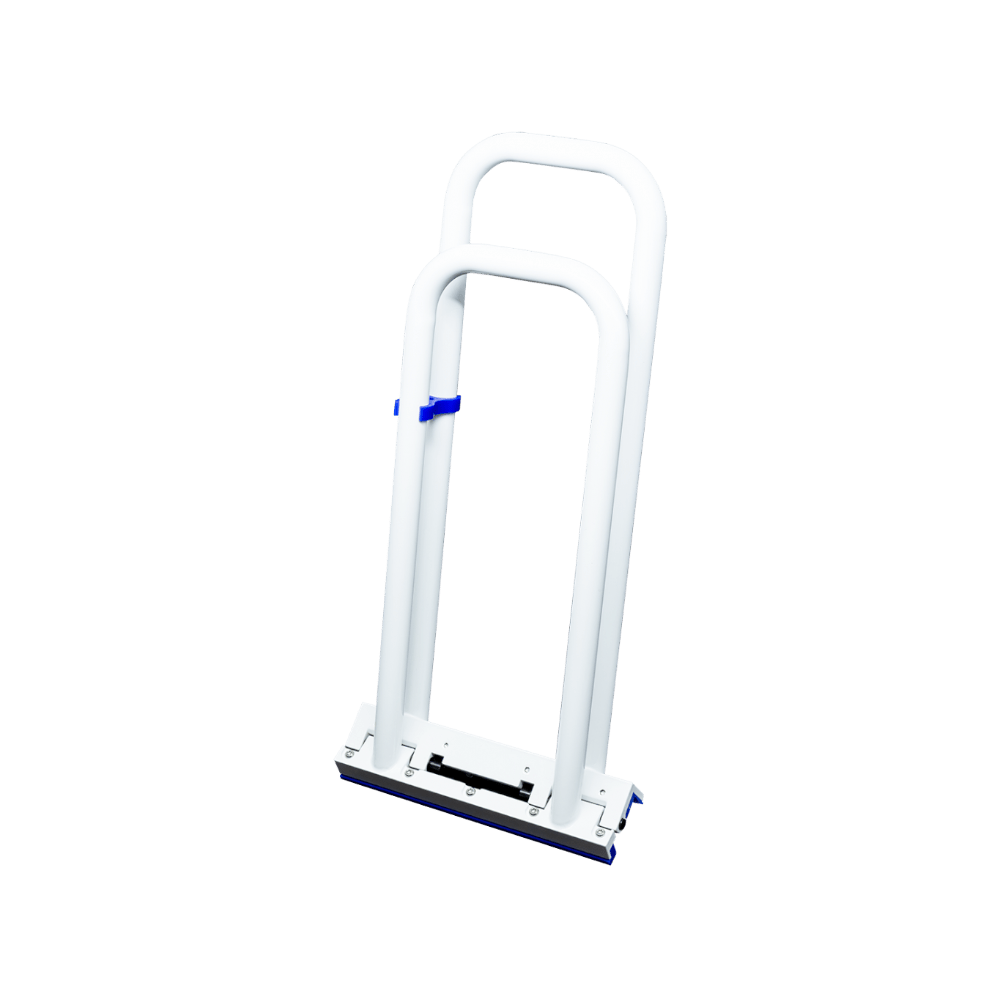
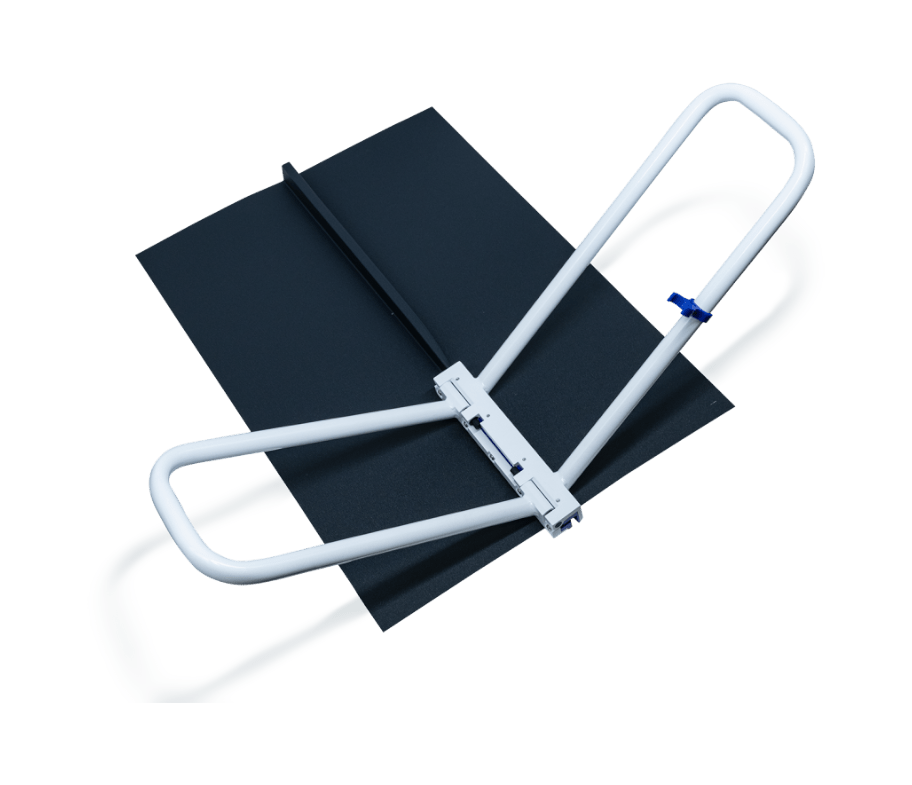
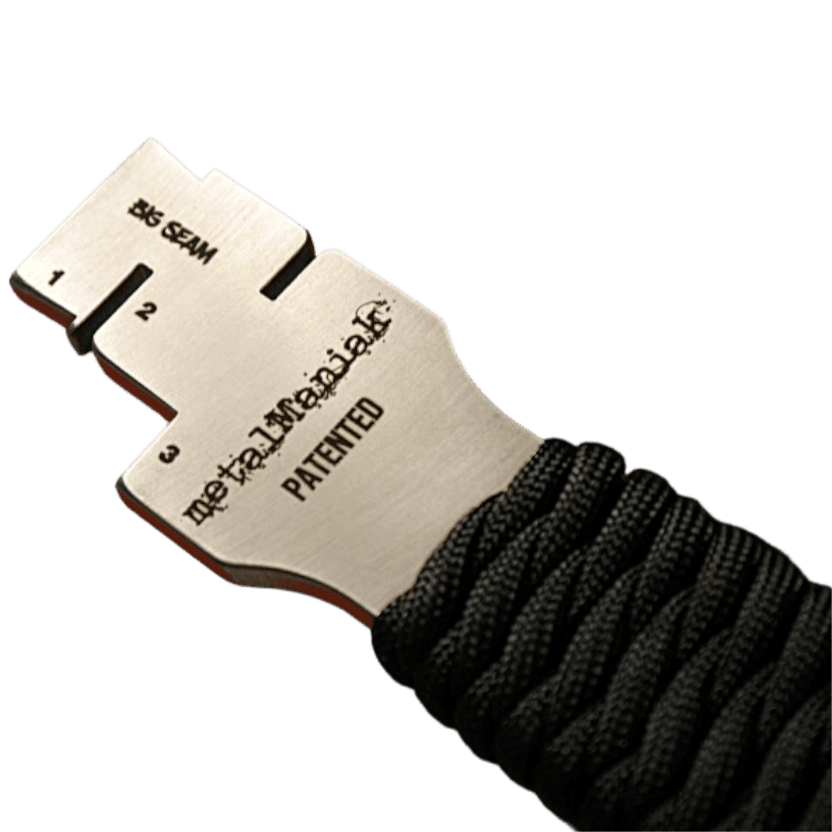
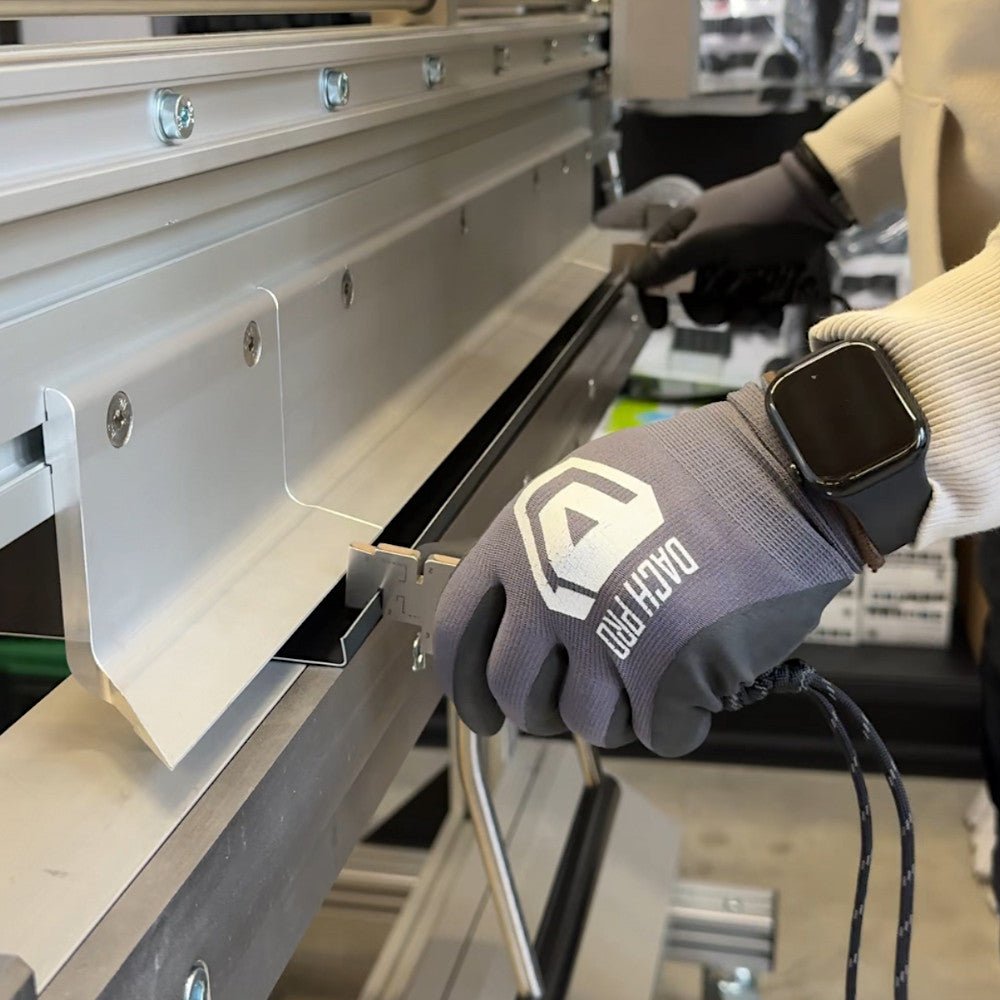
When installing wall copings, you will need a number of specialized tools to ensure the copings are securely and permanently attached. These include:
- Impact wrench: A powerful impact wrench is essential to install fasteners firmly and securely.
- Sheet metal shears: High-quality sheet metal shears allow precise cuts along the wall coping to ensure a perfect fit.
- Rivet gun: A rivet gun is necessary to connect the individual parts of the wall coverings together and create a stable structure. GESIPA riveting pliers
Product link: For high-quality wall coverings and the necessary accessories, I recommend you take a look at our product range: Recommended products.
With the right materials, tools, and expertise, installing wall coping can result in a seamless and aesthetically pleasing completion to any construction project.


